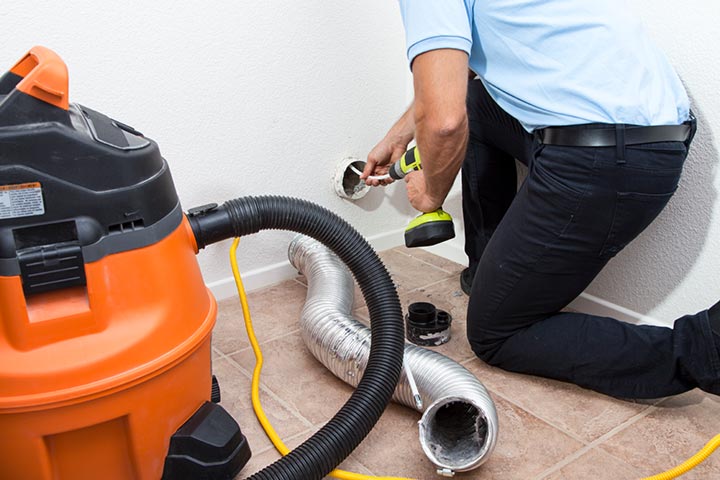
In today’s world, ensuring that your dryer is properly vented is crucial not only for its efficiency but also for the safety of your home. Learning how to install dryer vent hose with clamp is a skill that many homeowners find useful. This guide will take you through each step, making it easier for you to set up your dryer vent with confidence.

The Importance of Proper Installation
Proper installation of a dryer vent hose with a clamp prevents lint buildup, which can be a significant fire hazard. Furthermore, it allows your appliance to operate more efficiently, reducing energy bills as well as wear and tear on the machine.
Tools You Will Need
- Screwdriver
- Measuring tape
- Utility knife
- Metal clamps
- Circular vent hose
Gathering these tools ahead of time ensures that you are prepared, minimizing unnecessary interruptions during installation.
Step-by-Step Guide
Step 1: Preparation
Before you begin, make sure the dryer is unplugged and moved away from the wall. This provides ample workspace and ensures safety during the installation process.
Step 2: Measure and Cut
Measure the distance from the vent opening on the dryer to the vent opening on the exterior wall. Cut the dryer vent hose slightly longer than this measurement to ensure a perfect fit.
Step 3: Attach Hose to Dryer
Connect one end of the hose to the dryer vent outlet. Use a metal clamp to secure it tightly and prevent leaks. Ensure that the connection is firm by tightening the clamp with a screwdriver.
Step 4: Connect to Wall Vent
Attach the other end of the vent hose to the wall outlet. Again, use a metal clamp for a secure fit. Confirm there are no bends that could hinder airflow.
Step 5: Test the Setup
Once the hose is secured at both ends, plug in the dryer and test its operation. Listen for any unusual sounds and check that airflow is strong. This step confirms that the installation is successful.
Safety Tips
Ensure that connections are tight to prevent any risk of gas leaks (if using a gas dryer) or lint accumulation, which can cause fires.
Benefits of Proper Vent Installation
Properly vented dryers enhance appliance longevity, improve energy efficiency, and significantly minimize fire risks. As a part of your home maintenance routine, check your dryer’s vent system periodically. By following these steps, you can ensure your appliance operates safely and efficiently. For more on maintaining HVAC systems, check out our guide on common problems where we discuss the importance of regular inspections.
Advanced Installation Considerations
If your dryer’s location makes a short vent path impossible, consider installing a vent booster fan. This can improve ventilation efficiency even over longer distances.
Helpful Resources
For comprehensive information on keeping your dryer vent clean, visit this resource which offers helpful cleaning tips. For additional insights on air quality factors, explore our article on indoor air quality.
Conclusion
Learning how to install dryer vent hose with clamp is a valuable task for any homeowner. With proper tools and guidance, you can achieve a safe and effective installation, adding to your home’s safety and efficiency.
- To dive deeper into the importance of air duct cleaning, see what air duct cleaning involves.

Frequently Asked Questions (FAQs)
1. How often should I check my dryer vent?
You should check your dryer vent every six months, ensuring there are no blockages or lint buildup.
2. Can I use a flexible hose for my dryer vent?
While flexible hoses can be used, it’s important to ensure they are well-secured with clamps to prevent any leaks or inefficiencies.
3. How can I tell if my vent is not working correctly?
Signs of a faulty vent include clothes taking longer to dry, increased heat in the room, or a burning smell during the drying cycle.


